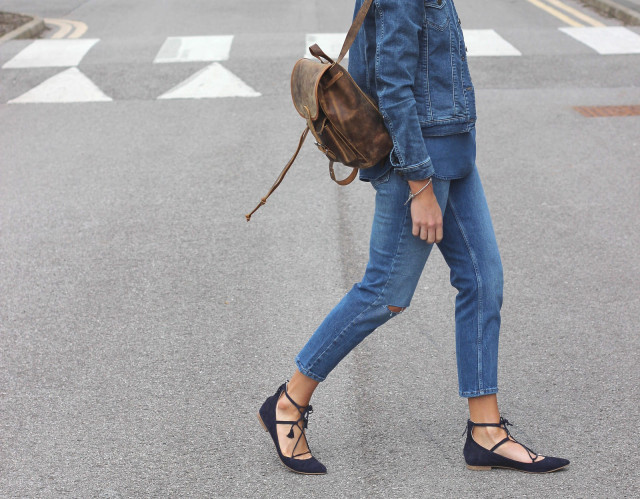
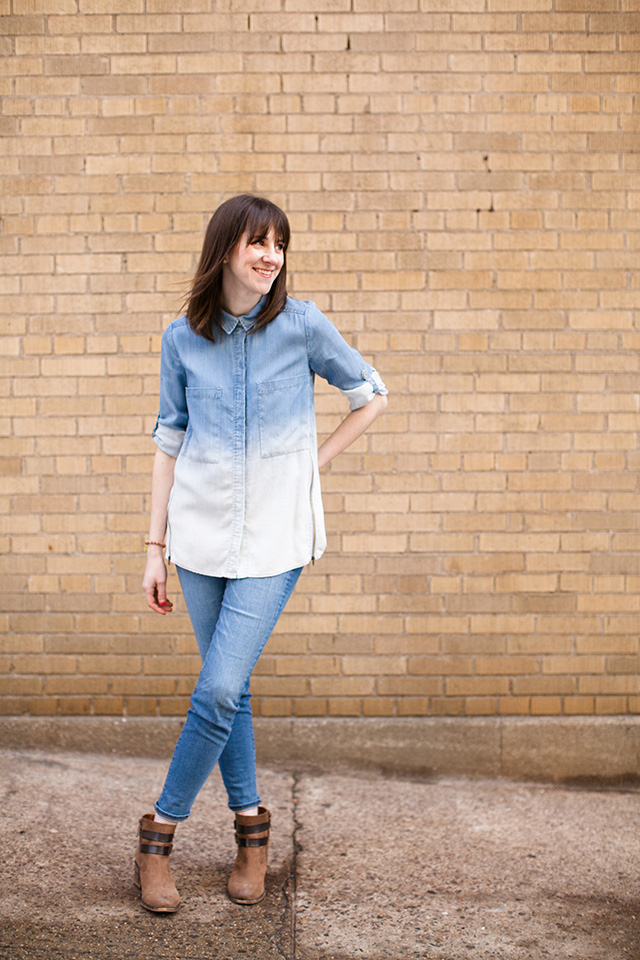
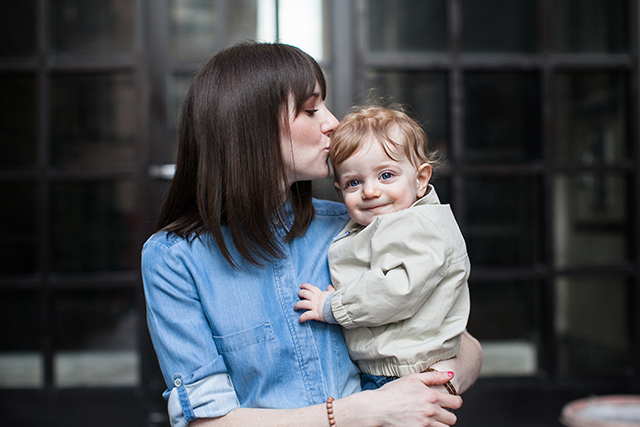
I was shopping for shoes at Nordstrom Rack earlier this summer when a fellow size 10-shopper looked at me knowingly. “Narrow feet?” she asked with an empathetic smile. Surrounded by sandals, wedges, and flats too wide for our slender feet, my new best friend and I commiserated on the difficulty we have shopping for size 10N shoes… READ MORE!
Back-to-school style: 9 fashionable backpacks for women
My sister, who lives and works in New York City, is a big fan of backpacks for women. Here’s why… READ MORE!
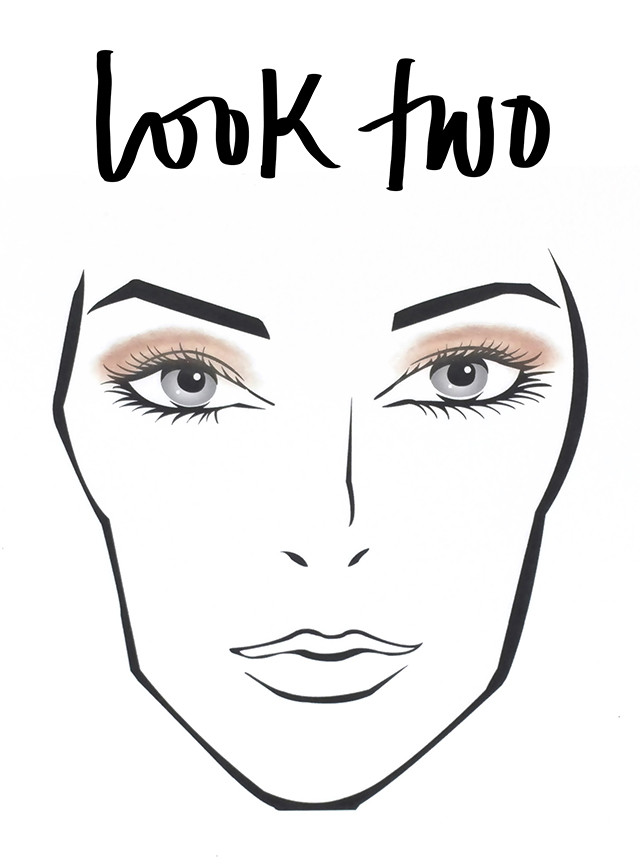
Three eye makeup looks to try this weekend
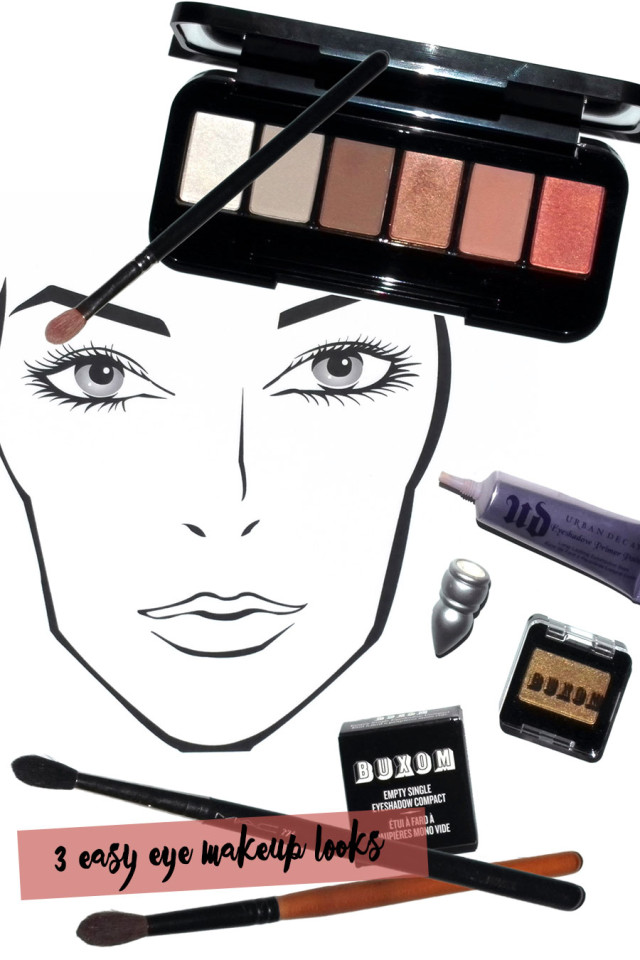
When it comes to wearing makeup, I’ve always been more interested in eye shadow than lipstick. That’s probably because my eyes — blue-grey with long lashes and dark brows (thanks, mom and dad!) — are my better feature. My lips are actually so thin that the top one virtually disappears when I smile. Who wants to bother with lip color when you can hardly see it?
I also love eye makeup because there are so many more fun ways to wear it than lipstick. From simple to smokey, unlined to cat eye, you can change up your look with every application.
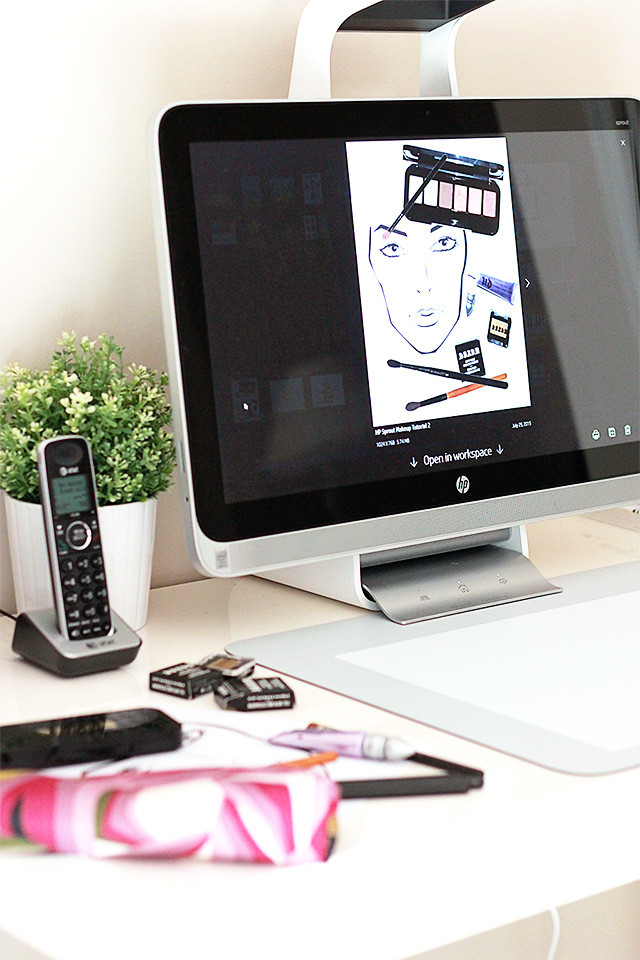
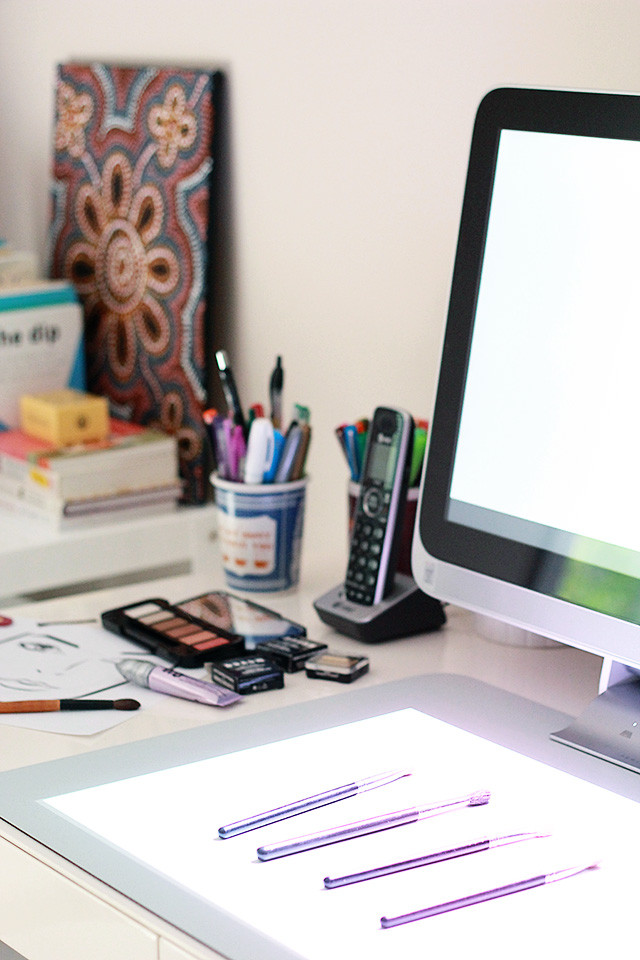
That’s why I thought it’d be fun to partner with HP to share my three go-to eye makeup looks. Ever since my 5-minute makeup post, I’ve been asked by readers for more beauty tutorials, but photographing myself applying makeup is a little bit tricky. Instead, I used my brushes and shadows on face charts I found on BeautyEtc.com, scanned them with the Sprout’s 14-megapixel high-res camera, and added handwritten text using the futuristic Touch Mat.
Whenever I wear eye shadow, I always start with my favorite Urban Decay primer. Worn underneath Buxom’s new primer-infused eye shadow, the color lasts all day and all night. (Yes, I sometimes sleep in my makeup. I can be too lazy to wash my face before bed.)
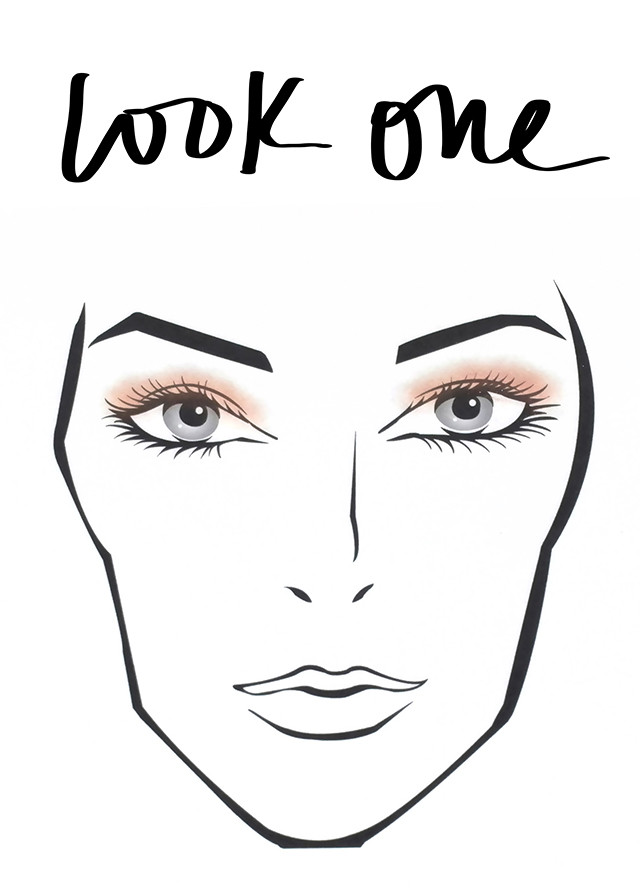
Look One
Pick a color, any color! A single wash of color is the easiest of the three eye makeup looks.
The trick is to blend the color up from your lash line to just slightly above the crease. Unless you’re walking the runway, you want your shadow to be more intense down near your eye lashes — not all over. Use a blending brush to soften any obvious lines in the crease.
Look Two
For this eye makeup look, you’ll need two shadows within the same color family. Neutrals like taupes and browns are perfect for daytime, or try pinks and purples for a more dramatic evening look.
Start by sweeping the lighter shade across your lid with a large fluffy brush. Using a smaller soft brush or a crease brush, smudge the dark color into your crease working from the outside in so that the color is darker near the outer edge of your eye. Finish by using your blending brush to soften the line of color in your crease. You don’t want it to look like a stripe!
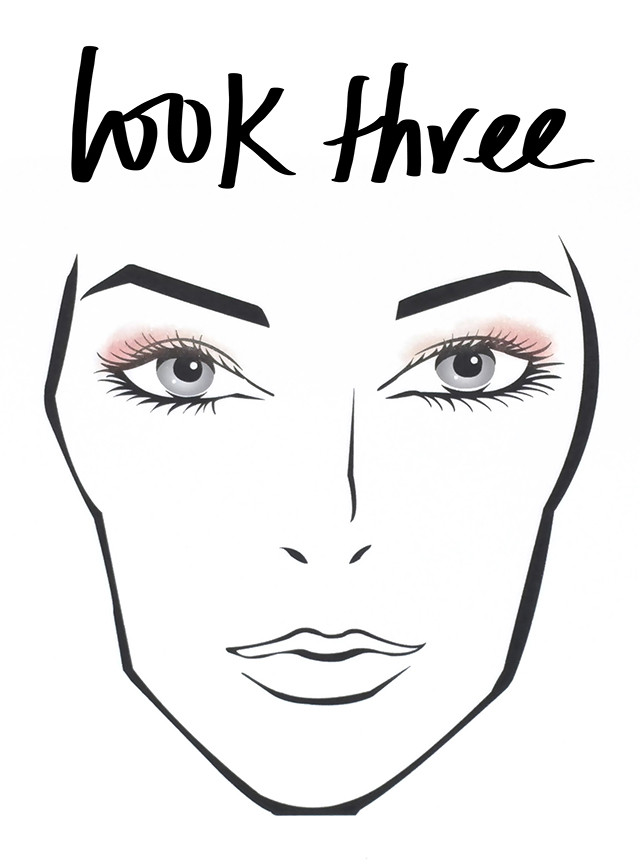
Look Three
The final eye makeup look is an easy way to wear bright summery shadows if all-over color isn’t your thing. Start by brushing a pale shade like white, silver, or beige across your lid. With a small stiff brush, tap the darker color on outer half of your lid, starting at the corner and working in toward the middle of your eye. Once again, use a blending brush to soften the line where the light and dark colors meet.
Finish all three looks with a couple swipes of your favorite mascara!
Which of these three eye makeup looks will you try this weekend?
This post was written in partnership with HP. As always, all ideas and opinions are my own. Thanks for supporting the brands that support this blog! #SproutbyHP #CIY #GoMakeThings
Four reasons to love all-in-one makeup palettes
[show_ms_widget id=”23096044″ image_id=”24632044″ width=”640″ height=”960″]
My obsession with all-in-one makeup palettes began last summer when I picked up two from MAC during the Nordstrom Anniversary Sale. Here’s why I love them… READ MORE!
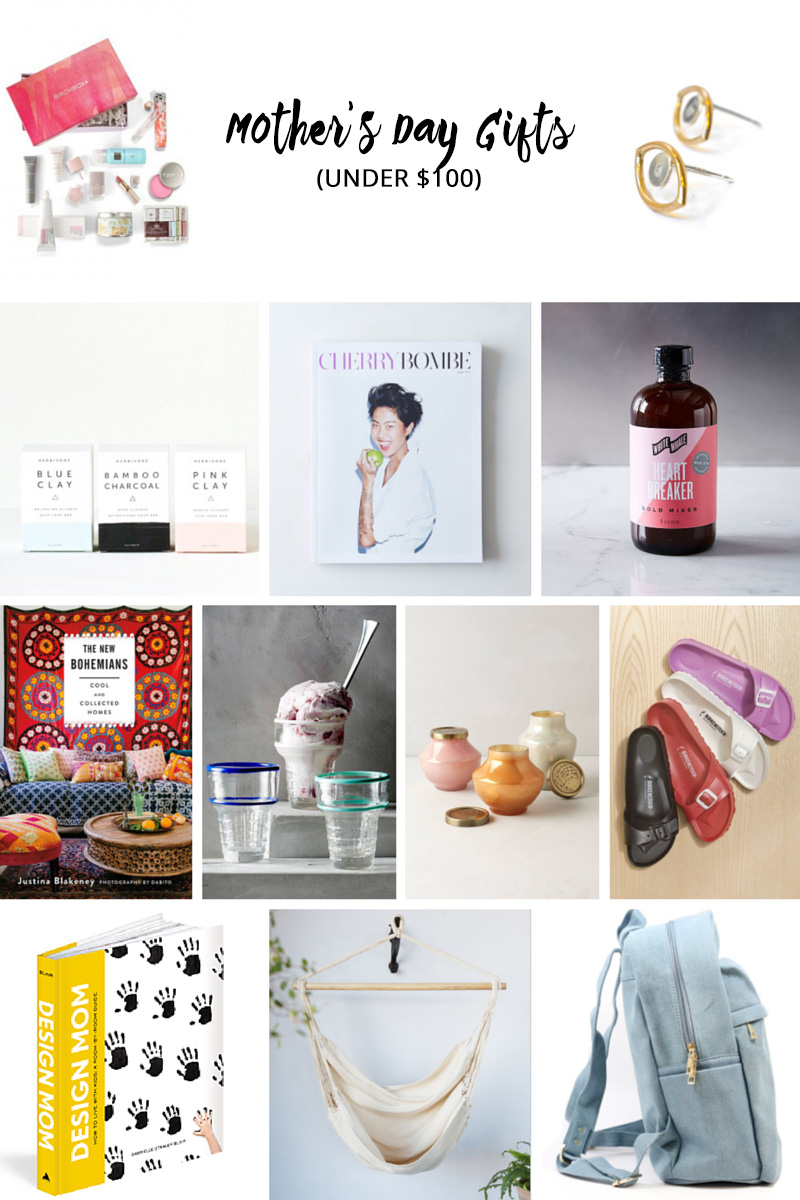
12 Mother’s Day gift ideas under $100
Believe it or not, Mother’s Day is two weeks away. Wasn’t it just Valentine’s Day?
I thought I’d put together a list of Mother’s Day gift ideas as guide for when you’re shopping for the moms in your life — or for when your partner asks what you’d like to receive… READ MORE!
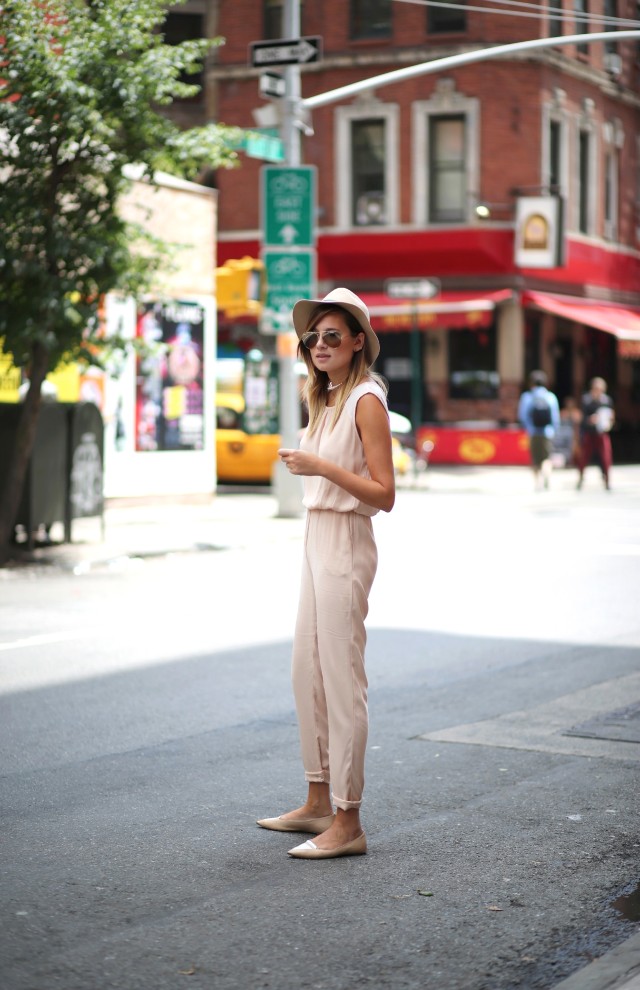
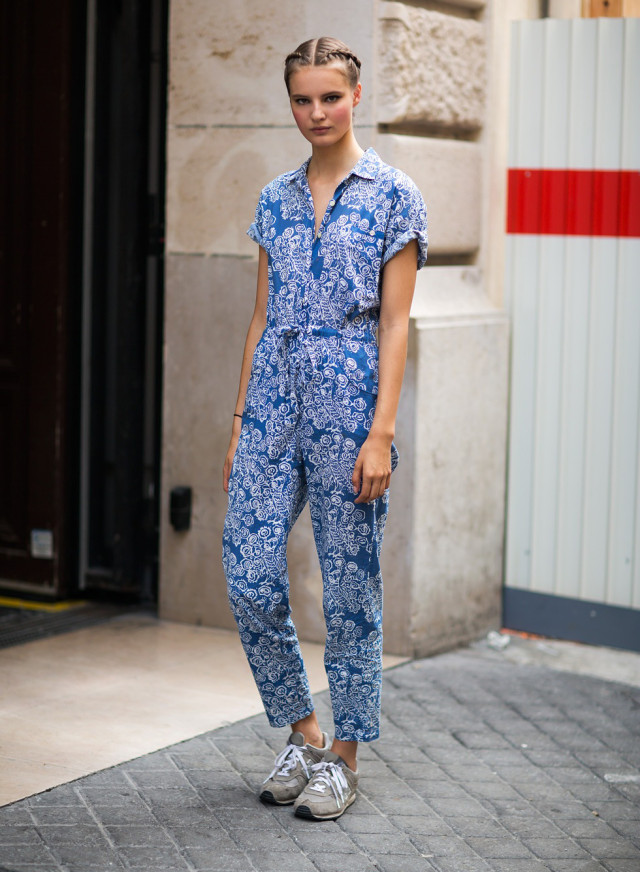
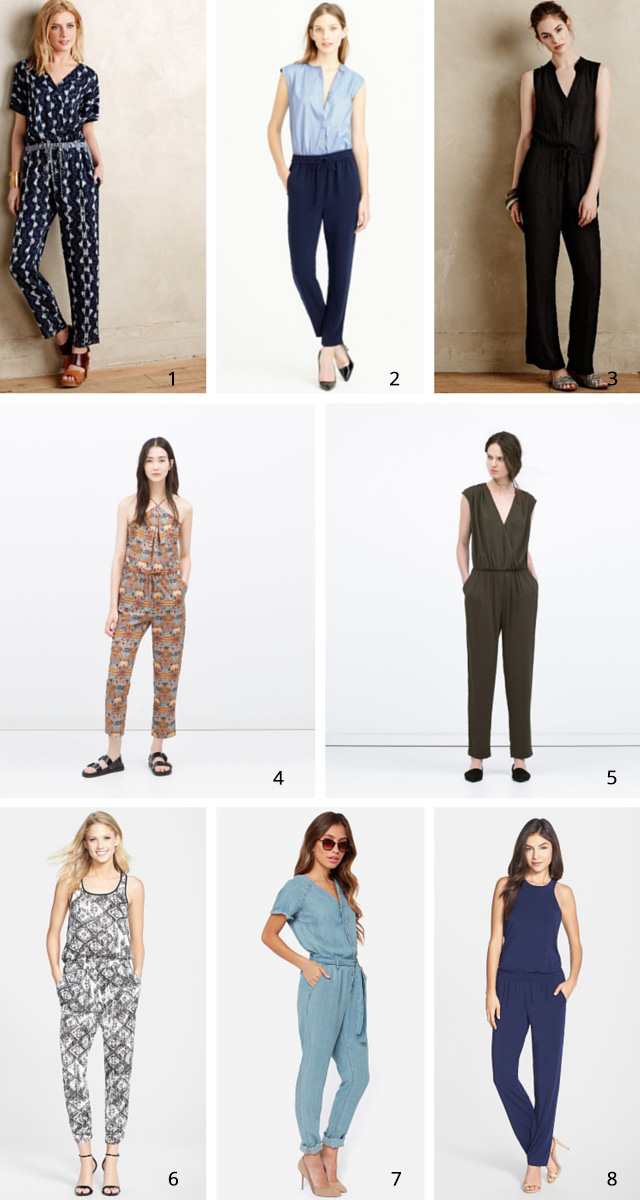
Don’t fear the jumpsuit!
Last week, I had the pleasure of attending the launch event of Maxi-Cosi’s new customization program. The party, celebrating the first-ever customizable car seat, was hosted by the stylishly pregnant Bobbie Thomas. Since my mom and sister watch the Today Show, I texted them a photo of me standing with Bobbie.
Instead of the enthusiastic response I expected, my sister simply wrote:
Are you wearing a jumpsuit?
In fact, I was wearing a black jumpsuit.You can see it here. If you can’t wear a jumpsuit to an infant car seat event in New York City, when can you wear one? You can also see it here, as I first wore it to Alt Summit last summer.
Come to think of it, I’m not sure I’ve worn it any other time. But slipping on the jumpsuit last week, I was reminded how easy they are to wear — instant outfit! They’re almost as easy to wear as dresses but perhaps slightly more practical when running after small children.
I’ll be the first to admit, however, that jumpsuits are not universally flattering. The way they’re draped can create droopy bottoms and saggy crotches. Elastic waistbands and pleats also tend to emphasize stomach pooches on us non-models.
Also, they make going to the bathroom slightly more complicated.
That said, I still think it’s worth giving the jumpsuit a chance this spring. It may take several trips to the dressing room, but a well-fitting jumpsuit makes you look instantly chic. Plus, you’ll get a day off from having to match your top to your bottoms.
Would you wear a jumpsuit? Here are eight of them that I’d like to try:
1 // 2 (on sale!) // 3 // 4 // 5 // 6 (regular & petite!) // 7 // 8
(top images via We Wore What and Fashion Fuz)
Some thoughts on spring fashion
Early spring is such a tease.
Stores tempt us with short-sleeve shirts, breezy dresses, and opened-toed shoes, but temperatures in the high-50s to low-60s call for pants and jackets. It’s too soon to swap our winter wardrobes for the latest spring fashion.
Instead, the transition from winter to spring calls for some creative dressing. Mixing and matching heavy clothing with lightweight fabrics. Warm pieces with pieces made for warmer weather.
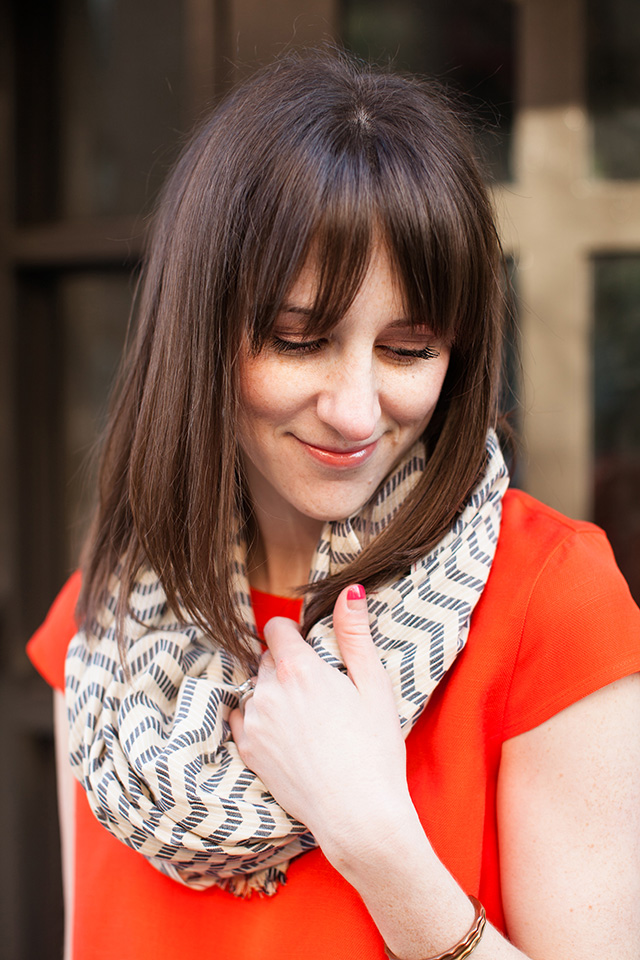
Take this shirt, for example. It’s a drapey short-sleeve top in the prettiest shade of persimmon. Everything about it, from the color to the fabric, makes it the perfect warm weather shirt. I almost didn’t buy it when I saw it hanging on a rack at J.Crew last month, as I was wearing my winter jacket while shopping and a linen-like shirt seemed an unnecessary purchase.
I probably wouldn’t have purchased the top if it hadn’t randomly been 25% off. I try not to pay full price for clothing unless it’s something I desperately need for a particular event, which means I usually don’t buy clothing for a particular season until we’re several weeks into that season.
I also might not have bought it if I didn’t have a photo shoot scheduled with Megan Tsang for my Secrets of Stylish Moms feature. Since several of my blogging friends have been encouraging me to share more outfits (ahem, Sarah, Jeran, Rachel, and MJ), I thought it’d be fun to work with Meg on a spring fashion post.
Specifically, how to wear one top two ways: First, in an early spring look and then in a late spring one.
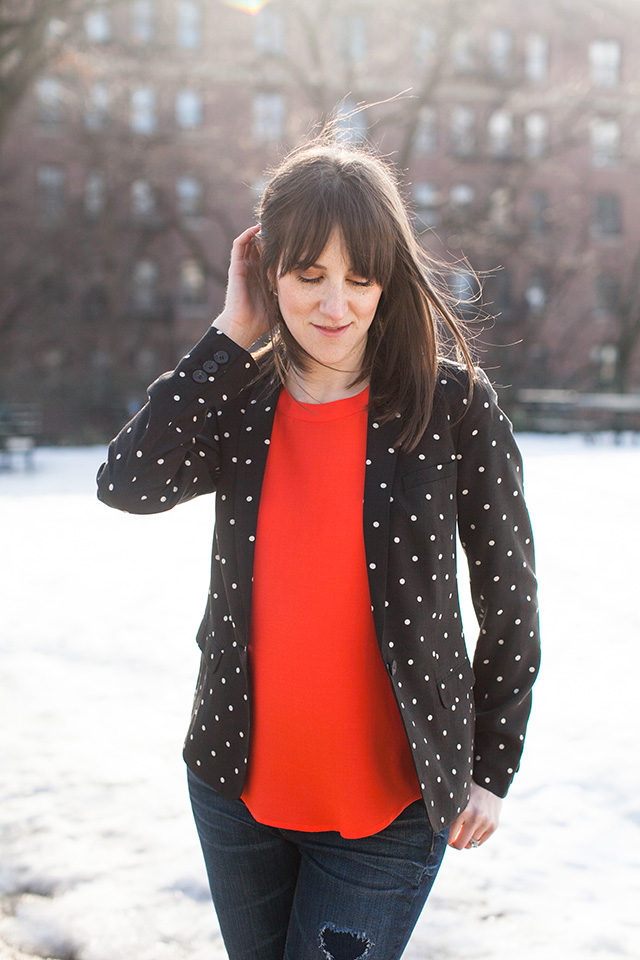
We shot the photos in my sister’s New York City neighborhood. I was worried I’d feel terribly self-conscious posing for the camera in public, but Meg quickly put me at ease. Plus, my photography session didn’t seem to phase the busy New Yorkers around me. Nobody acted particularly curious or interested in what we were doing.
That’s NYC for you.
Still, I’m not sure I could be a full-fledge fashion blogger. Having my picture taken while hailing a cab among a crowd or standing in the middle of a busy intersection for the typical street style shot seems like it might be a little bit out of my comfort zone. Luckily (or not), there aren’t very many cabs or busy intersections in the suburbs where my parents live!
And now on to the fashion…
This month, while it’s still a bit chilly outside, I’ll be pairing the brightly colored tee with a blazer. I love the way black and white makes the coral pop! My favorite wedge ankle boots finish the look.
I pretty much always wear booties until the weather stays in the mid-60s; I have a condition that causes my toes to get red and itchy if my feet get too cold. Sorry, was that TMI?
Hopefully you can’t tell from these photos, but I was freezing when we shot this late spring look!
I wore the same cap-sleeve top and cuffed jeans but with loafers instead of boots and a patterned scarf instead of a blazer. (Psst…the scarf is on a big sale right now!) Black and white became navy blue and white, making the outfit feel less edgy and more preppy.
So what do you think? Would you wear either of these two looks? Should I start posting fashion content more regularly? I’d love your feedback!
SHOP THE POST
[show_shopthepost_widget id=”664985″]
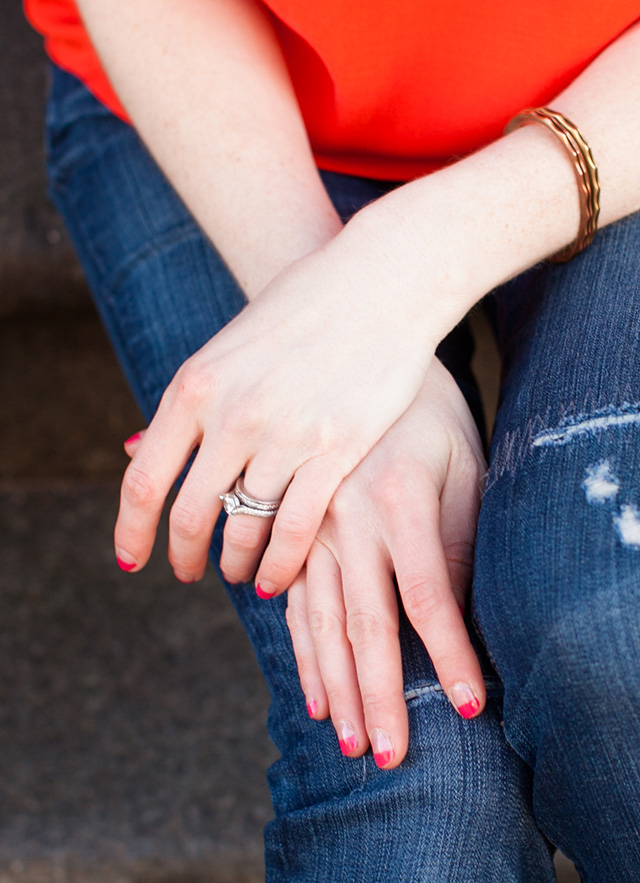
PS: Here are the instructions for my color block manicure!
(photos by Megan Tsang Studio)
Secrets of stylish moms
I have Erin Loechner of Design for Mankind to thank for this post.
As we were chatting about blogging at Alt Summit this past January, I mentioned to Erin how much I enjoyed the Secrets of Stylish Moms series on Say Yes. Suddenly, as if her ears were burning, Liz Stanley (i.e., one of my blogging heroes), walked past us! Erin called her over and graciously made an introduction, effectively putting the wheels in motion for my own Secrets of Stylish Moms feature, which went up on Say Yes yesterday.
To say I’m humbled to be featured among such fashion-forward mothers like Erin (she’s everywhere!), Angela, and Bridgette is an understatement. I’m flabbergasted, really.
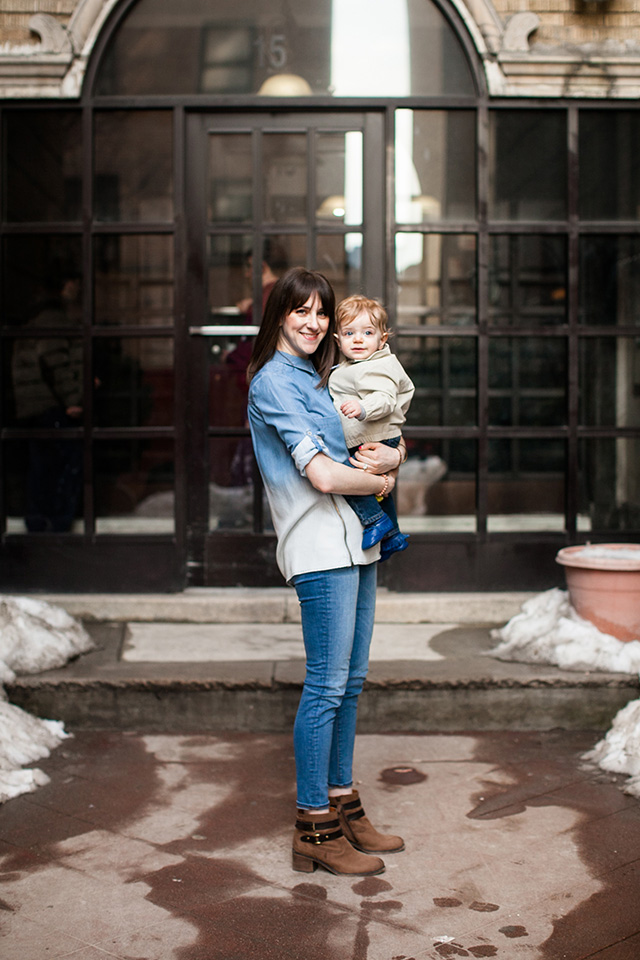
Although I had to laugh when I read the interview with Jen of The Effortless Chic from two weeks ago. She was also wearing a denim on denim outfit! For a hot second, I worried that I might be accused of copying her style, but Megan Tsang took the photos for my feature on a chilly morning in early March about two weeks prior. I guess my Secrets of Stylish Moms post simply reinforces the idea of chambray shirt and jeans as the perfect momiform.
(Although I’d be lying if I didn’t admit to feeling slightly bummed by the comments suggesting my outfit was somewhat uninspiring because it was — coincidentally, remember! — so similar to Jen’s. But I get it. They were a lot alike.)
On the plus side, being featured on Say Yes gave me a reason to work with Meg, an amazingly talented photographer (I swear she made me look better than I do in real life!). It also offered me the opportunity to ruminate on my personal style. Trying to define it for myself is something I’ve struggled with for a long time.
Generally, I favor simpler silhouettes, and I veer more casual than dressy, although I still like to look put together. But am I preppy? Bohemian? Trendy? A little bit of everything?

The interview also gave me the chance to name drop some of my favorite clothing, accessory brands, and makeup: MZ Wallace. Jamie Feinstein Design. Diorshow. Paige Denim.
Plus, I was asked to reveal my celebrity style icon! The actress I picked (well, one of the two) can pull off bold colors, big patterns, and unusual silhouettes. She somehow always looks chic without looking like she’s trying too hard. Can you guess who she is?
I hope you’ll hop over to Say Yes to read the entire interview. And I’d love to hear your thoughts on my fashion philosophy. Do we have a similar style? What is your go-to mom uniform?
(photo by Megan Tsang)
Nail Tutorial: DIY color block manicure
Two weeks ago, my friend Sheri and I were supposed to meet in New York City for a nosh in Soho and modern manicures at Paintbox. I was equally excited about getting in some quality girl time with Sheri and getting my nails color blocked and bedazzled.
Not exaggerating, I’d been poring over Paintbox’s selection of nail art designs online for weeks.
Unfortunately, Mother Nature decided to dump 10 inches of snow on us that day, canceling our kids’ schools and making travel into the city virtually impossible. Rather than spend the day staring at my naked nails, however, I decided to try a Paintbox-inspired color block manicure at home. After some trial and error, I figured out a relatively easy way to give myself a French manicure with color blocking.
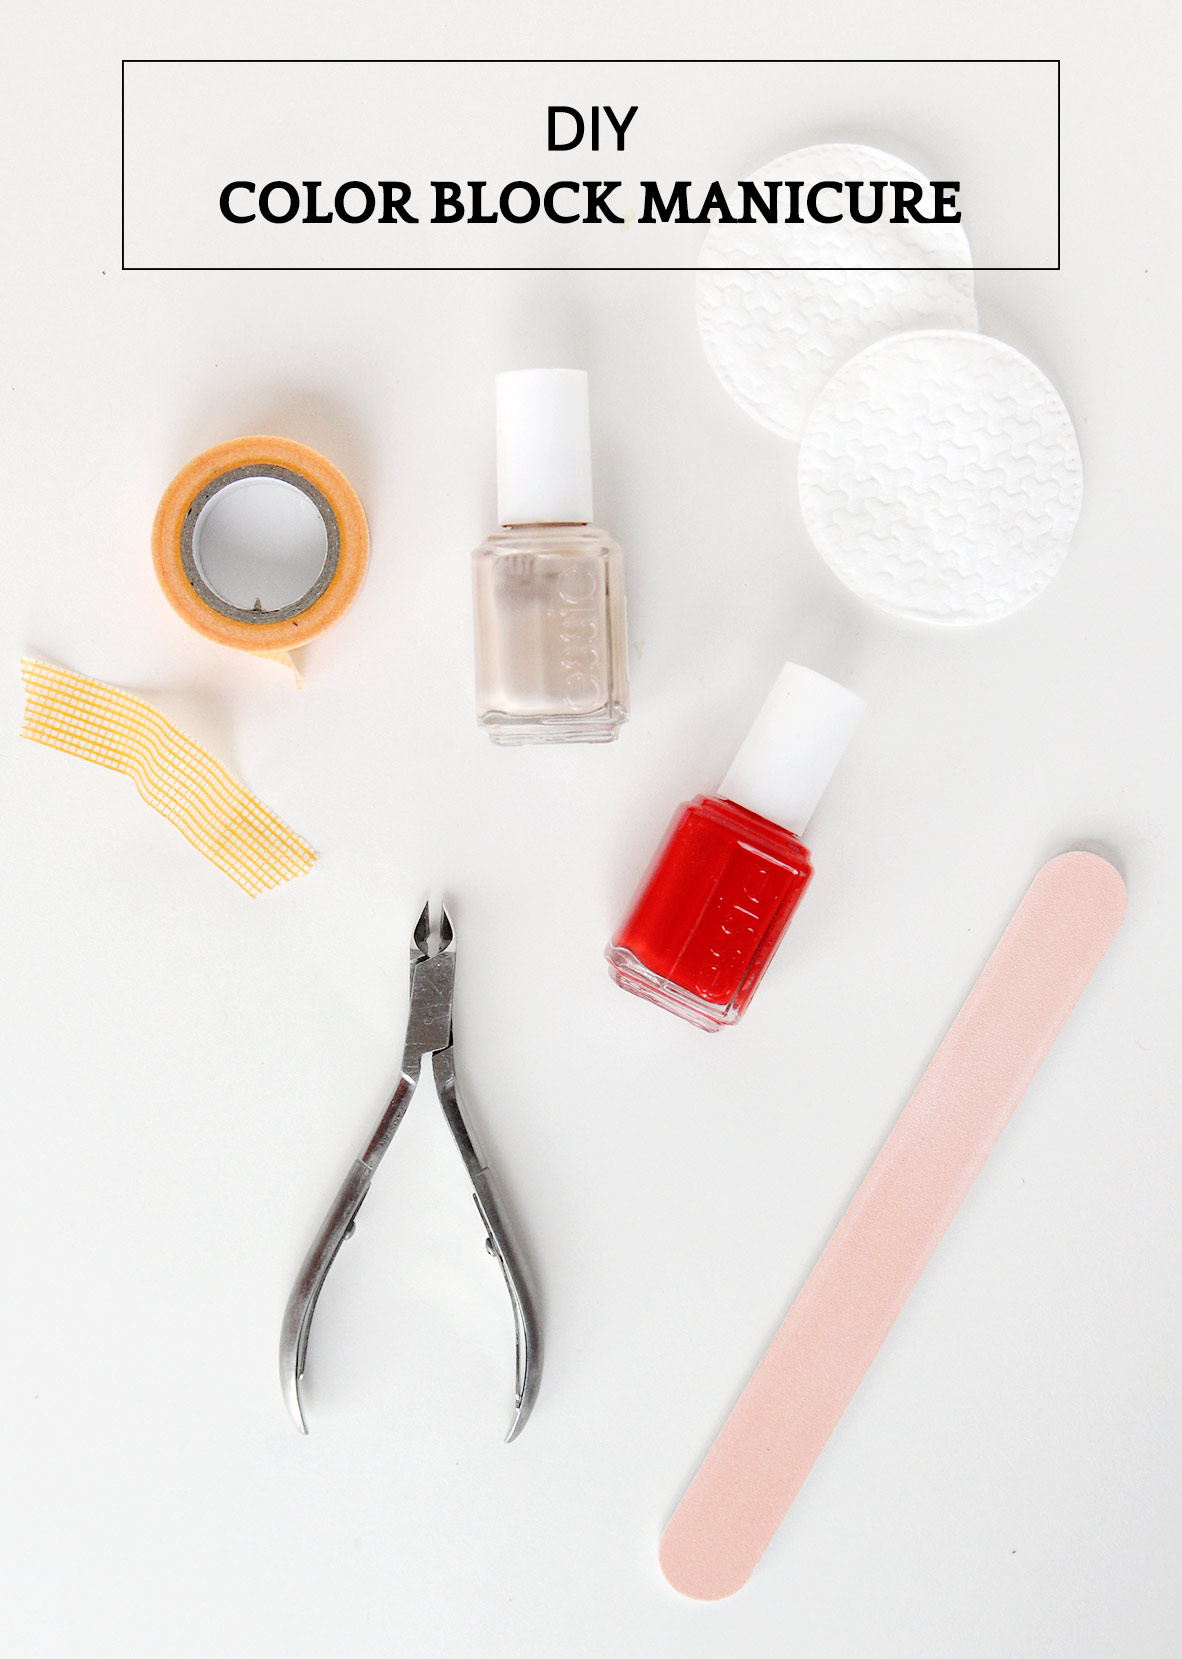
Want to try your hand at a DIY color block manicure? Don’t be intimidated! Here’s what you’ll need:
- Nail polish remover and cotton pads
- Base coat
- Pale or nude nail polish
- Dark or bright nail polish
- Top coat
- Washi tape
- Quick -dry drops (optional)
Before you do anything, swipe a cotton pad soaked in nail polish remover across each nail to remove any oils or dirt.
01. Apply base coat from cuticle to tip and wait until nails are completely dry. (I like Orly Bonder.) Then wait a few minutes longer.
02. Cover bottom half of nails with washi tape. I prefer washi tape to regular tape because it’s less sticky. Don’t bother breaking out the ruler; the division doesn’t have to be exactly even.
03. Using vertical strokes, paint nail tips with two coats of bright nail polish, waiting for polish to dry between coats. Here I’m using Essie Lacquered Up.
04. Remove washi tape while second coat is still wet. If any base coat from the bottom half of your nails comes off with the tape, gently tap on a little bit more, taking care to stay below the painted line.
05. Using horizontal strokes, apply two coats of pale nail polish to the unpainted half of your nails, using the line of bright polish as your guide (it will feel slightly raised as you brush against it). Essie Au Natural has a lovely subtle shimmer.
06. Wait (and then wait some more) for polish to dry before applying top coat. If you notice any of the bright color transferring to the pale color, try cleaning the brush or letting the polish dry a little bit longer. I’ve had success with Orly Won’t Chip Topcoat.
As the final step, I add a drop of Orly Flash Dry to each nail about minute after applying my top coat. It really does speed up the drying process!
Now you may be wondering why I don’t simply paint my entire nail with beige polish, cover the bottom half with tape, then paint the top half with the red. It would save a bunch of steps, right? Well, I have two reasons.
- The thicker the nail polish, the quicker it chips. Two coats of dark over two coats of light equals four coats of nails polish on the top half of your nails. That’s just too thick, in my opinion.
- I’ve never successfully removed strips of washi tape (or Scotch tape or painter’s tape) placed directly on nail polish without pulling up some of the color, too. Perhaps it’s because I don’t wait long enough for the color to dry, but I’m impatient and don’t want to spend hours on my nails.
So what do you think? Are you a fan of manicures with nail designs or are they too trendy for your taste? Would you give this DIY color block manicure a go?
(If you do, share your photo on Instagram and use the hashtag #AGirlNamedPJmani!)
PS – My first attempt at an ombre manicure!
(top photo by the amazingly talented Megan Tsang for an upcoming outfit post!)
