Here’s what happened this week…… READ MORE!
Archives for 2015
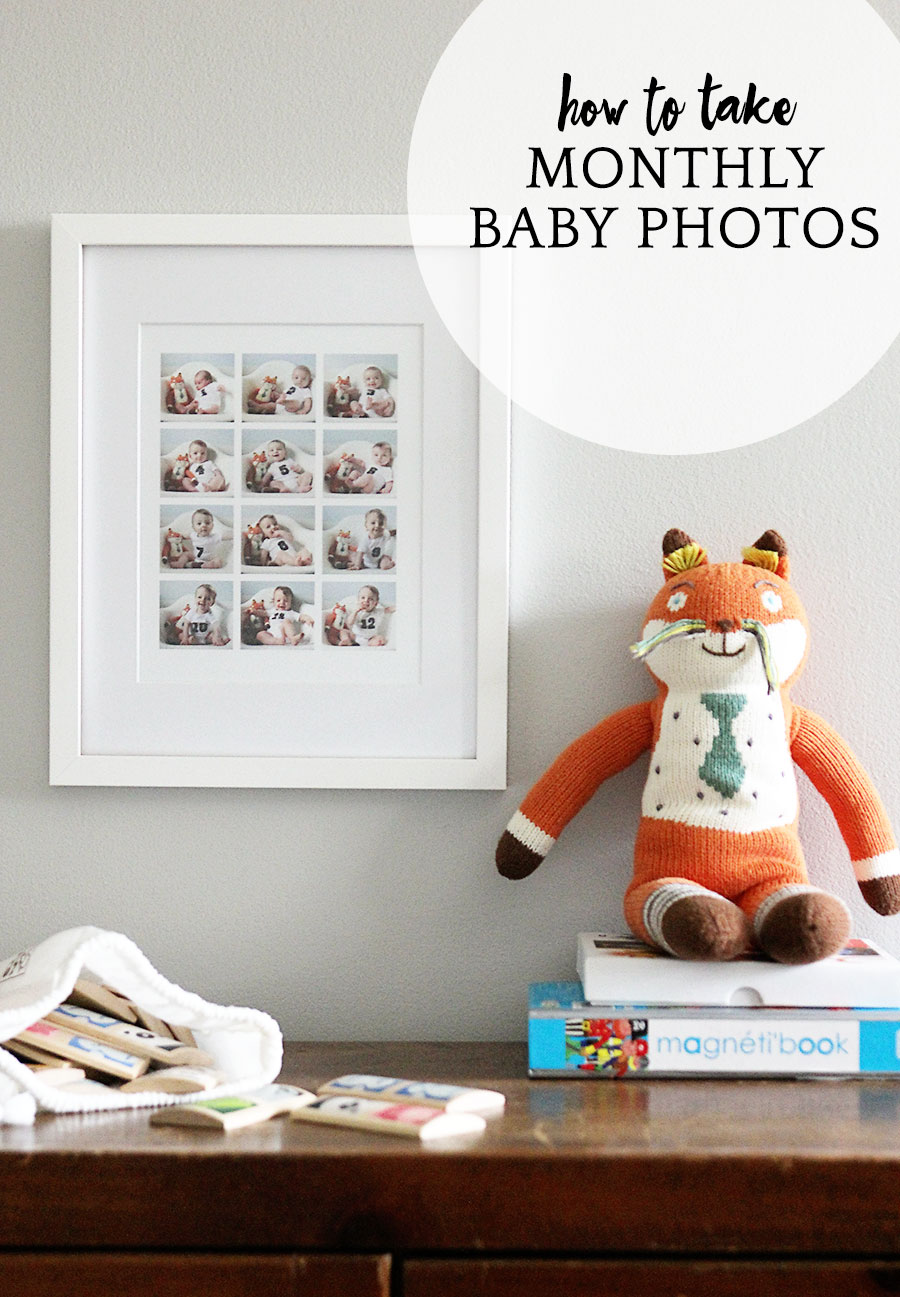
How to take monthly baby photos
I never expected the monthly baby photos I took of the boys to be among the most popular posts on the blog. Just last week, Levi’s monthly photos were featured on Red Tricycle, and the series continues to bring new visitors looking for ways to photograph their babies’ first years.
Since I started taking Levi’s monthly photos almost four years ago (crazy!), I’ve received a ton of questions about the process. Although I do my best to answer each of them as they roll in, I thought it might be helpful to share the most frequently asked questions — and answers — in one spot.
If I’ve missed anything, please don’t hesitate to shoot me an email or leave a comment below. I’ll update the post as necessary!
FAQ: Monthly Baby Photos
1. Where did you get that chair?
We bought our white Eames molded plastic rocker from Design Within Reach. It was our first anniversary present to ourselves!
Horne sells a fiberglass rocker shell chair that’s nearly identical but a little less expensive, and Amazon offers molded plastic armchair rocker for less than $100. Fair warning: I can’t vouch for either since I haven’t seen them in person, but their reviews look pretty good.
2. What camera do you use?
I shoot manually with a Canon EOS 60D camera and a Tamron 28-75mm
lens.
3. How did you set up your photos?
First, I always turned off the overhead light and any lamps. Natural light is key! I positioned the rocking chair next to a window (always in the same spot) when the room was nice and bright. However, you don’t want strong direct sunlight streaming through the window because that’ll produce harsh shadows in your pictures.
The problem with using a rocking chair is that, well, they rock. It’s not such a big deal with newborns, but older babies are more wiggly, as I’m sure you can imagine! I always had somebody — Jordan, my mom, the nanny — standing next to the rocker just out of frame in case Levi or Asa decided to crawl over the edge of the chair. It happens.
When taking the photos, I’d sit on a pouf about 5-6 feet away from the chair to shoot at eye level. This also helped me guarantee that the angle I shot from remained consistent each month.
4. Where did you get the numbered onesies?
I made them! When I couldn’t find any pre-made monthly baby onesies or monthly stickers I liked, I bought these iron-on numbers from Michaels. Each month, Jordan or I would apply them to a white bodysuit we already had.
5. How did you edit your photos?
I used Photoshop to crop, straighten, and resize the photos as necessary for the blog. Using the previous month’s photo as a guide, I’d also make slight adjustments to the brightness, levels, and color balance.
But if you look closely at my pictures, you’ll see that they aren’t all exactly the same. I’m not an expert at photo retouching!
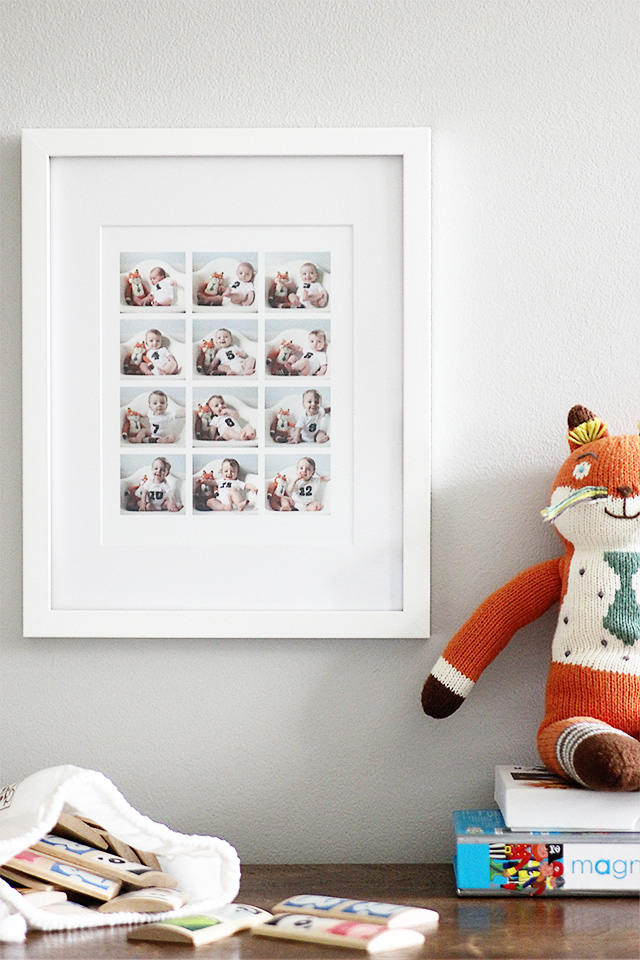
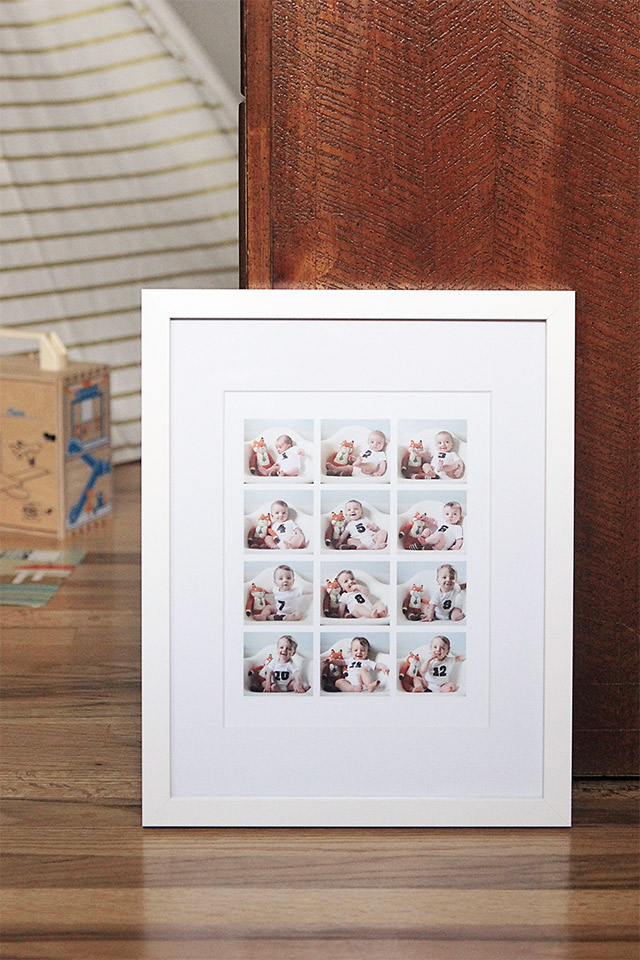
6. I’d like to create a collage with all 12 my baby’s monthly photos. How did you make this one?
I used Photoshop to create that collage, but there are other collage makers you could try, including PicMonkey and Fotor, if you simply want to share your image online.
However, I used Pinhole Press to print and frame a collage of Levi’s monthly photos. They offer a 12-photo framed collage that was basically designed for displaying monthly baby photos. You simply choose your frame (white, black, or pine) and then drag and drop your pictures into the template. The hardest part will be deciding where to put the collage once it arrives framed and ready to hang!
Everything Pinhole Press creates is so beautiful and well made. I’ve actually been meaning to make the boys some photo books of names & faces and a photo memory game for some time now!
If you’re interested in trying Pinhole Press, they’re graciously offering 15% off all products with the code agirlnamedpj through Sunday, May 10th. (Psst… That’s Mother’s Day! Buy your mom a framed print of your kids!)
Thanks to Pinhole Press for sponsoring today’s conversation! And thank you for supporting the brands that help make this blog possible.
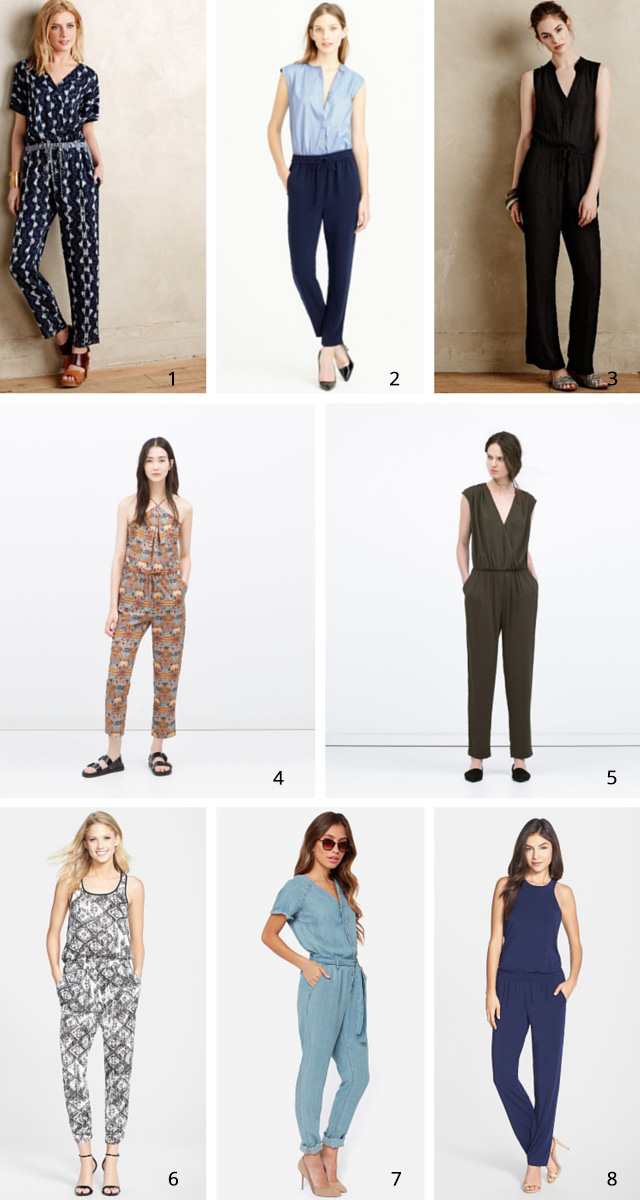
Don’t fear the jumpsuit!
Last week, I had the pleasure of attending the launch event of Maxi-Cosi’s new customization program. The party, celebrating the first-ever customizable car seat, was hosted by the stylishly pregnant Bobbie Thomas. Since my mom and sister watch the Today Show, I texted them a photo of me standing with Bobbie.
Instead of the enthusiastic response I expected, my sister simply wrote:
Are you wearing a jumpsuit?
In fact, I was wearing a black jumpsuit.You can see it here. If you can’t wear a jumpsuit to an infant car seat event in New York City, when can you wear one? You can also see it here, as I first wore it to Alt Summit last summer.
Come to think of it, I’m not sure I’ve worn it any other time. But slipping on the jumpsuit last week, I was reminded how easy they are to wear — instant outfit! They’re almost as easy to wear as dresses but perhaps slightly more practical when running after small children.
I’ll be the first to admit, however, that jumpsuits are not universally flattering. The way they’re draped can create droopy bottoms and saggy crotches. Elastic waistbands and pleats also tend to emphasize stomach pooches on us non-models.
Also, they make going to the bathroom slightly more complicated.
That said, I still think it’s worth giving the jumpsuit a chance this spring. It may take several trips to the dressing room, but a well-fitting jumpsuit makes you look instantly chic. Plus, you’ll get a day off from having to match your top to your bottoms.
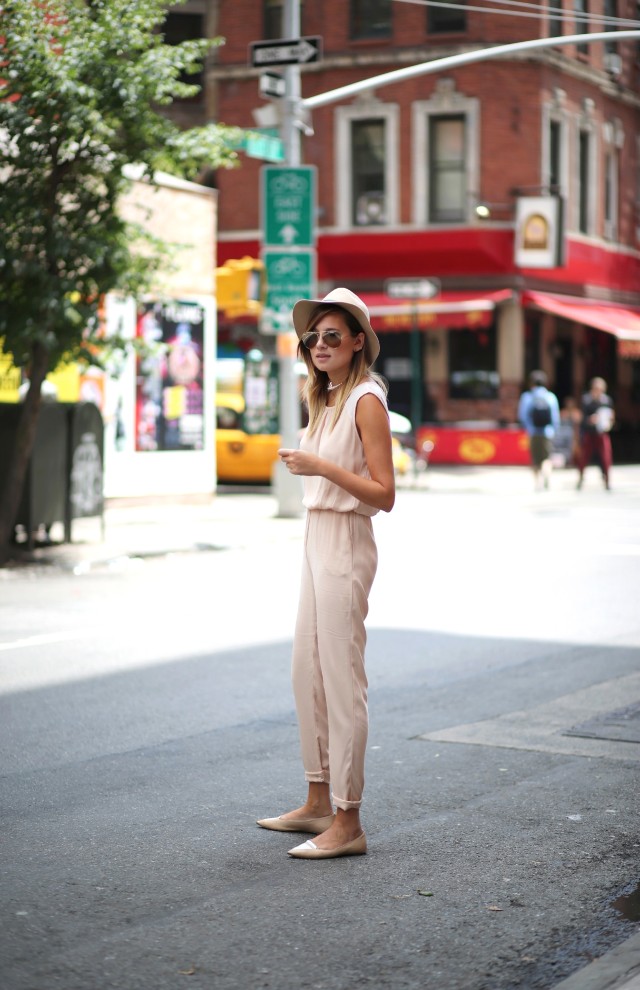
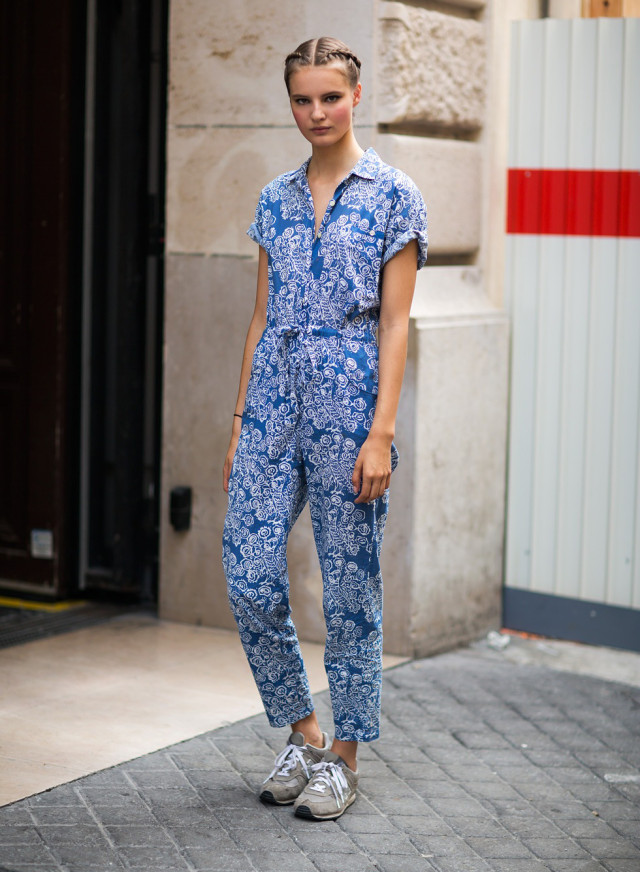
Would you wear a jumpsuit? Here are eight of them that I’d like to try:
1 // 2 (on sale!) // 3 // 4 // 5 // 6 (regular & petite!) // 7 // 8
(top images via We Wore What and Fashion Fuz)
Weekend reading: link roundup
I have some exciting news! We found a house in DC! Actually, it’s a townhouse in Bethesda, Maryland, and it’s ours for the next two years. Jordan just got the keys, and I’m hoping to pop by this weekend when the boys and I are visiting. It’s time to start thinking about decorating!
Hope you have a great weekend, whatever you’re planning to do. (Care to share?) Here are some fun links to explore:
The prettiest peachy coral nail polish. (I’m wearing it above!)
I’d love to get my hands on these 10 magazines. Long live print!
This recipe combines two of my favorite foods: pesto and bread.
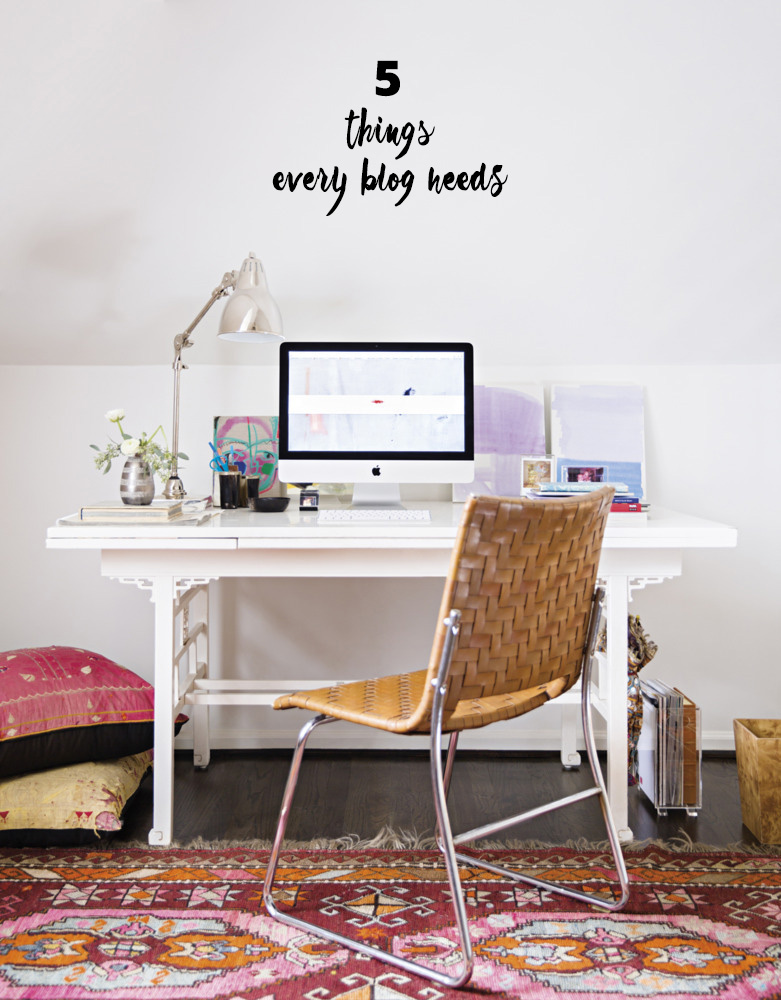
Thinking of starting a blog? Here’s the first step. Plus, 5 things every blog needs.
Before you judge the behavior (or the parents) of your child’s friends, read this beautiful post.
J.Crew style at every age.
I’m adding this book, recommended by Joy, to my reading list.
And I’m overly excited that my copy of this book just arrived in the mail!
The sneakers I wore in high school are making a comeback. Long live the ’90s!
For the record, I’d be happy to live in a donut shop.
If you’re a fan of gold, glitter, and motivational mantras, go enter this giveaway.
Such a cool idea: A fully customizable infant car seat.
Could you wear the same thing to work every day?
More things I’ve written:
Over on Cool Mom Picks, I rounded up the most stylish women’s rain boots for spring.
I had five (!) slideshows published on BHG.com this week: DIYs with gold paint, Craigslist furniture makeovers, DIY coasters, Dip-dyed projects, and DIY painted pillows.
(Image via Instagram. Follow me here!)
5 things your blog must have
For a recent freelance writing assignment, I researched approximately 75 DIY projects on nearly as many blogs. Once I found the posts I wanted to include, I needed to contact each blogger for permission to use their photos.
Sounds easy, right?
You’d be surprised to hear how challenging it was to find the specific types of DIY projects I needed simply because of the way many of the blogs were designed… READ MORE!
