I never expected the monthly baby photos I took of the boys to be among the most popular posts on the blog. Just last week, Levi’s monthly photos were featured on Red Tricycle, and the series continues to bring new visitors looking for ways to photograph their babies’ first years.
Since I started taking Levi’s monthly photos almost four years ago (crazy!), I’ve received a ton of questions about the process. Although I do my best to answer each of them as they roll in, I thought it might be helpful to share the most frequently asked questions — and answers — in one spot.
If I’ve missed anything, please don’t hesitate to shoot me an email or leave a comment below. I’ll update the post as necessary!
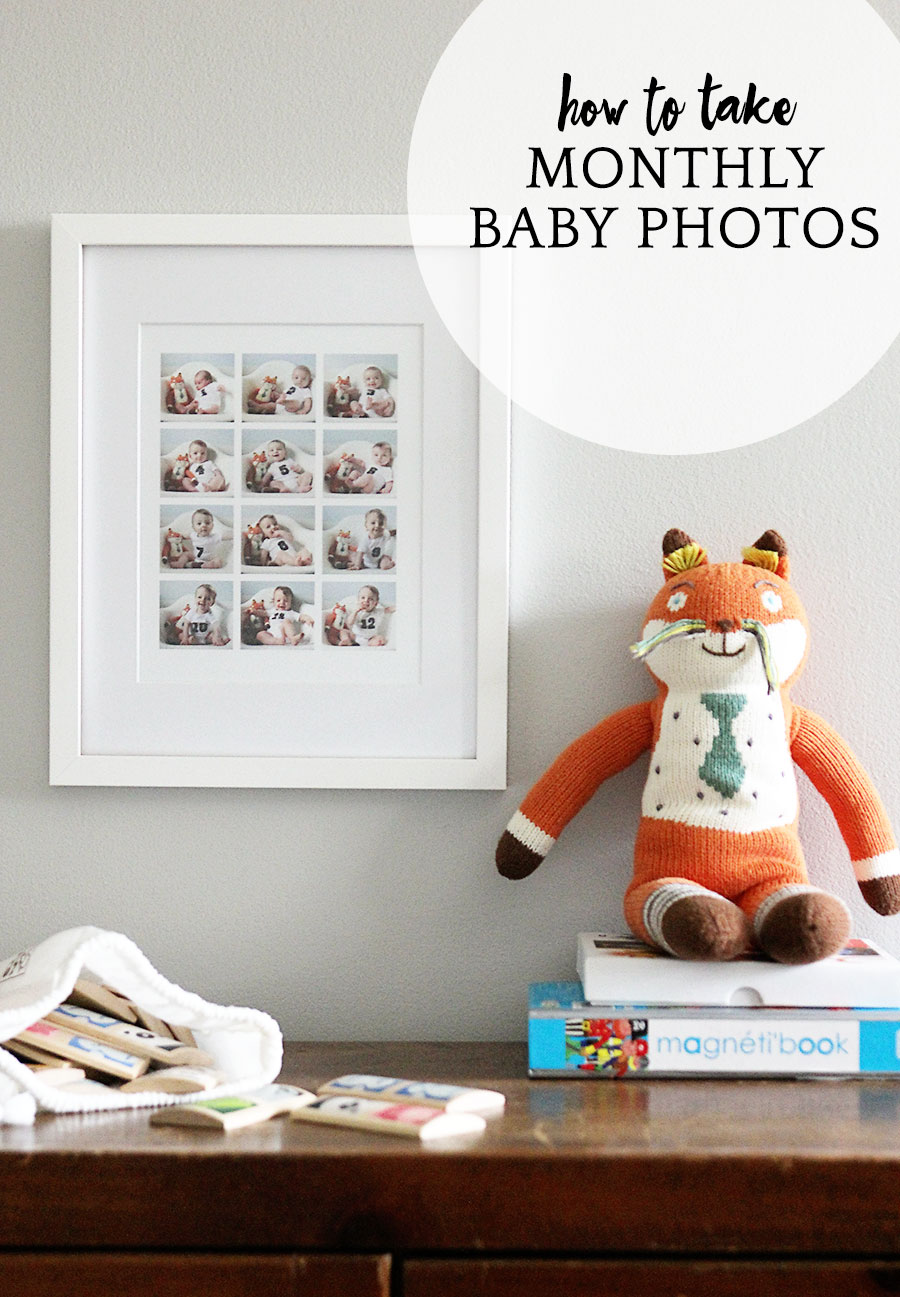
FAQ: Monthly Baby Photos
1. Where did you get that chair?
We bought our white Eames molded plastic rocker from Design Within Reach. It was our first anniversary present to ourselves!
Horne sells a fiberglass rocker shell chair that’s nearly identical but a little less expensive, and Amazon offers molded plastic armchair rocker for less than $100. Fair warning: I can’t vouch for either since I haven’t seen them in person, but their reviews look pretty good.
2. What camera do you use?
I shoot manually with a Canon EOS 60D camera and a Tamron 28-75mm
lens.
3. How did you set up your photos?
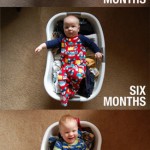
First, I always turned off the overhead light and any lamps. Natural light is key! I positioned the rocking chair next to a window (always in the same spot) when the room was nice and bright. However, you don’t want strong direct sunlight streaming through the window because that’ll produce harsh shadows in your pictures.
The problem with using a rocking chair is that, well, they rock. It’s not such a big deal with newborns, but older babies are more wiggly, as I’m sure you can imagine! I always had somebody — Jordan, my mom, the nanny — standing next to the rocker just out of frame in case Levi or Asa decided to crawl over the edge of the chair. It happens.
When taking the photos, I’d sit on a pouf about 5-6 feet away from the chair to shoot at eye level. This also helped me guarantee that the angle I shot from remained consistent each month.
4. Where did you get the numbered onesies?
I made them! When I couldn’t find any pre-made monthly baby onesies or monthly stickers I liked, I bought these iron-on numbers from Michaels. Each month, Jordan or I would apply them to a white bodysuit we already had.
5. How did you edit your photos?
I used Photoshop to crop, straighten, and resize the photos as necessary for the blog. Using the previous month’s photo as a guide, I’d also make slight adjustments to the brightness, levels, and color balance.
But if you look closely at my pictures, you’ll see that they aren’t all exactly the same. I’m not an expert at photo retouching!
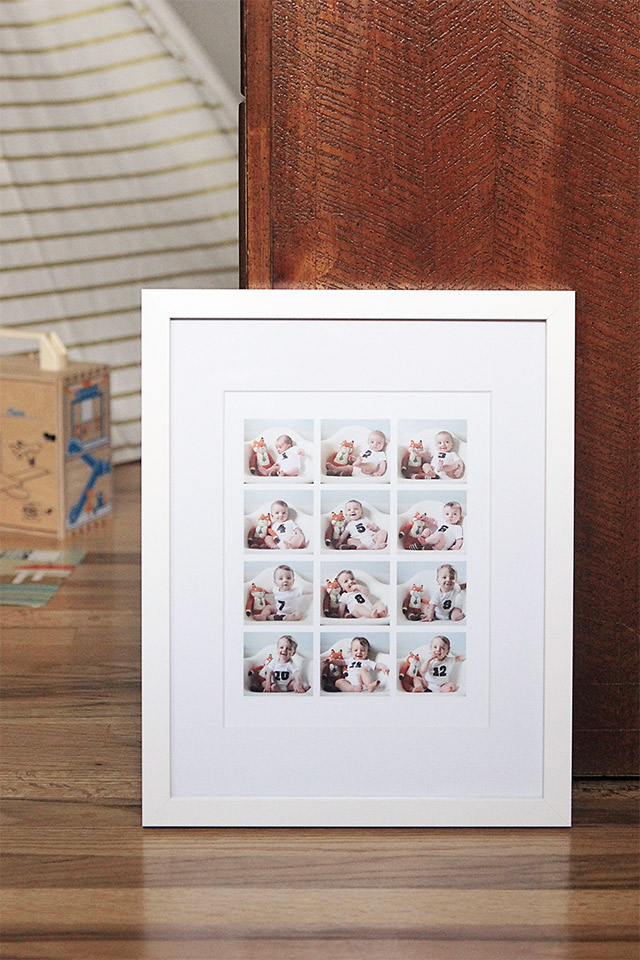
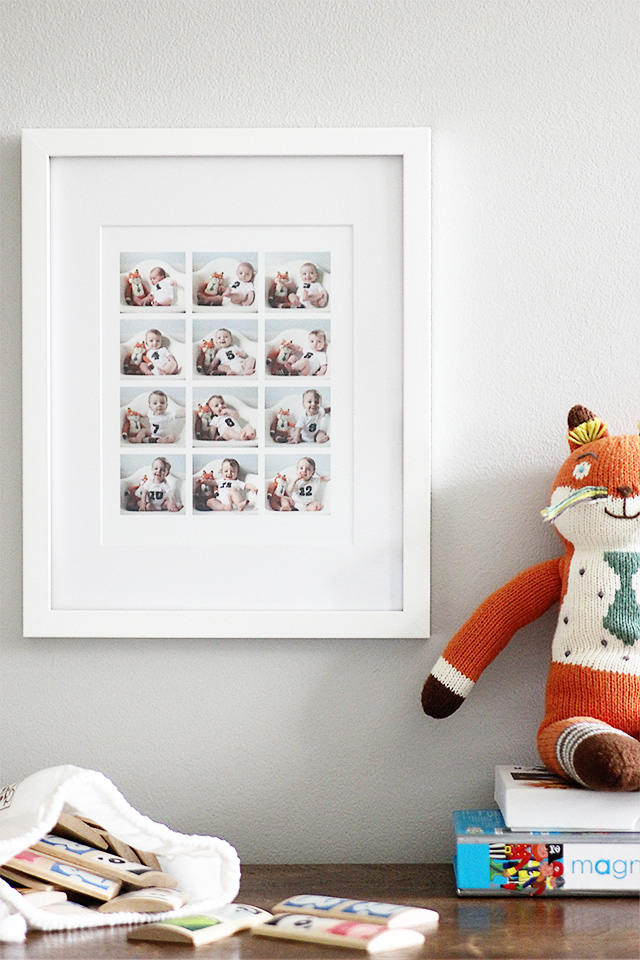
6. I’d like to create a collage with all 12 my baby’s monthly photos. How did you make this one?
I used Photoshop to create that collage, but there are other collage makers you could try, including PicMonkey and Fotor, if you simply want to share your image online.
However, I used Pinhole Press to print and frame a collage of Levi’s monthly photos. They offer a 12-photo framed collage that was basically designed for displaying monthly baby photos. You simply choose your frame (white, black, or pine) and then drag and drop your pictures into the template. The hardest part will be deciding where to put the collage once it arrives framed and ready to hang!
Everything Pinhole Press creates is so beautiful and well made. I’ve actually been meaning to make the boys some photo books of names & faces and a photo memory game for some time now!
If you’re interested in trying Pinhole Press, they’re graciously offering 15% off all products with the code agirlnamedpj through Sunday, May 10th. (Psst… That’s Mother’s Day! Buy your mom a framed print of your kids!)
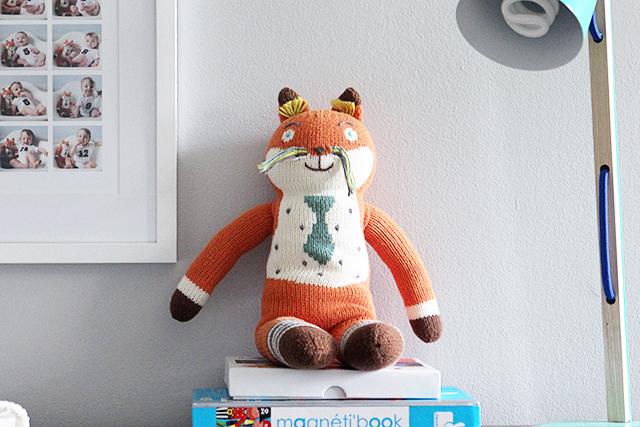
Thanks to Pinhole Press for sponsoring today’s conversation! And thank you for supporting the brands that help make this blog possible.


[…] wish I’d started this when my kids were born – great […]